Dimas Maulana

Dimas Maulana

Developer

Welcome to my website! I am a developer with a current focus on React and Go. My experience encompasses both front-end and back-end development, enabling me to design and develop seamless and efficient applications.

Setting Up Local AI Chat on VSCode on Mac

In this tutorial, we’ll guide you through the process of installing and setting up the ollama local AI chat service in VSCode on your Mac. We’ll also explore how to integrate it with the Continue extension for seamless AI-powered coding experiences.

Step 1: Install ollama

To get started, open your terminal and run the following command:

Local AI Chat on Web-Based Client on Mac

In this tutorial, we will set up a local AI chat client using ollama and Open WebUI. This will allow us to interact with our AI model locally without relying on any cloud services.

Install ollama

First, install ollama using Homebrew:

Local Chat AI on Mac

In this post, we’ll be diving into the installation and usage of ollama, a local chat AI that runs on your Mac.

Installing Ollama

1
brew install ollama

Once installed, you can pull down a pre-trained model (in this case, we’ll be using the “llama3” model):

NAT Setup Using Cisco Packet Tracer

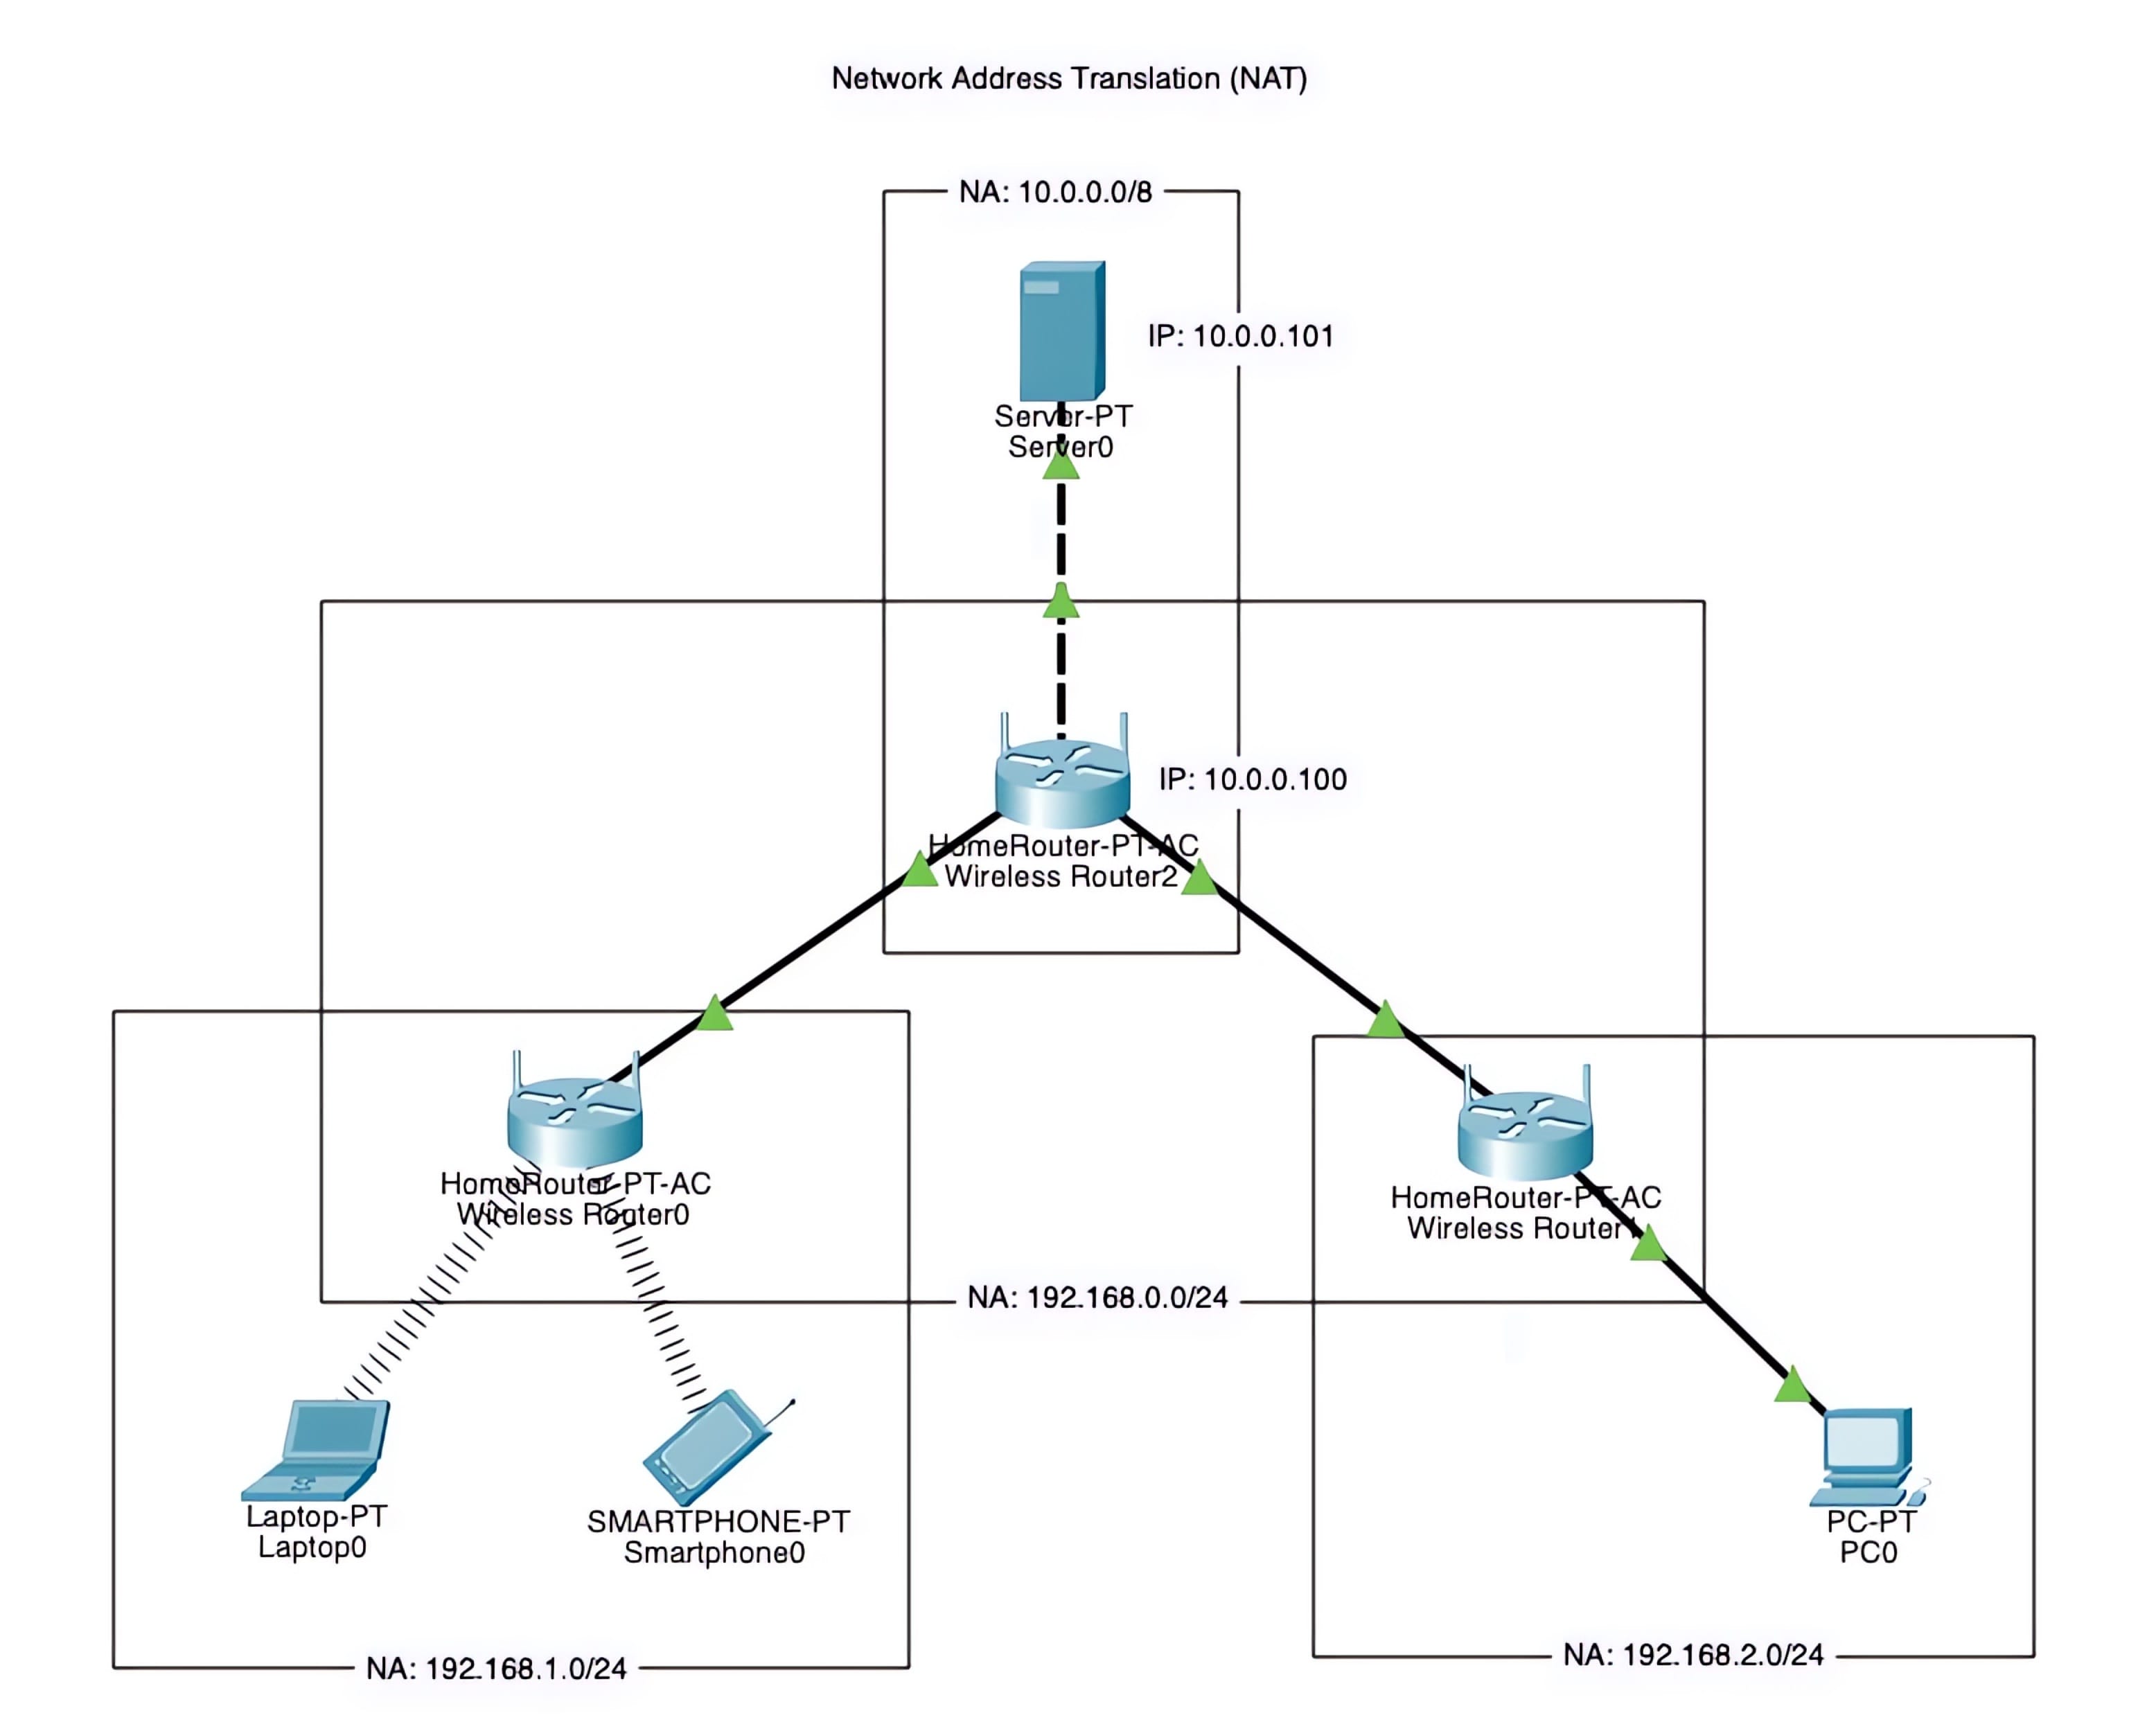
We will demonstrate a basic network address translation (NAT) setup, allowing multiple devices to access a server through various routers and wireless networks. This setup enables multiple devices from different locations to connect to a single server, making it a crucial component of many modern networks.

Step 1: Adding Devices

  • Open Cisco Packet Tracer and create the following devices:
    • Laptop0
    • Smartphone0
    • PC0
    • Wireless Router0
    • Wireless Router1
    • Wireless Router2
    • Server0

Step 2: Configuring IP Addresses

  • Configure the IP addresses as follows:
    • Laptop0: DHCP (obtain an IP address from the router)
    • Smartphone0: DHCP (obtain an IP address from the router)
    • PC0: DHCP (obtain an IP address from the router)
    • Wireless Router0: Internet IP - DHCP, Router IP - 192.168.1.1/24
    • Wireless Router1: Internet IP - DHCP, Router IP - 192.168.2.1/24
    • Wireless Router2: Internet IP - 10.0.0.100/8, Router IP - 192.168.0.1/24
    • Server0: IP - 10.0.0.101/8

Step 3: Creating Connections

  • Create the following connections:
    • Cable from PC0 (LAN port) to Wireless Router1 (LAN port)
    • Cable from Wireless Router0 (Internet port) to Wireless Router2 (LAN port)
    • Cable from Wireless Router1 (Internet port) to Wireless Router2 (LAN port)
    • Cable from Wireless Router2 (Internet port) to Server0 (LAN port)

Step 4: Testing Connectivity

  • Test the connectivity by:
    • Pinging from each device to Server0:
      • Laptop0
      • Smartphone0
      • PC0 All pings should be successful, indicating that NAT is working as expected.

Step 5: Testing Web Browsing

  • Test web browsing from each device to Server0:
    • Open a web browser on Laptop0 and access the IP address of Server0 (e.g., http://10.0.0.101)
    • The web page should load successfully.
    • Repeat the same test with Smartphone0 and PC0.

Expected Results

  • All devices should be able to access the server through different routers and wireless networks, indicating that NAT is working as expected.
  • This article demonstrates a basic NAT setup using Cisco Packet Tracer, where devices can access a server through different routers and wireless networks. The NAT allows devices on different subnets to communicate with each other.

Network Switching and Routing Using Cisco Packet Tracer

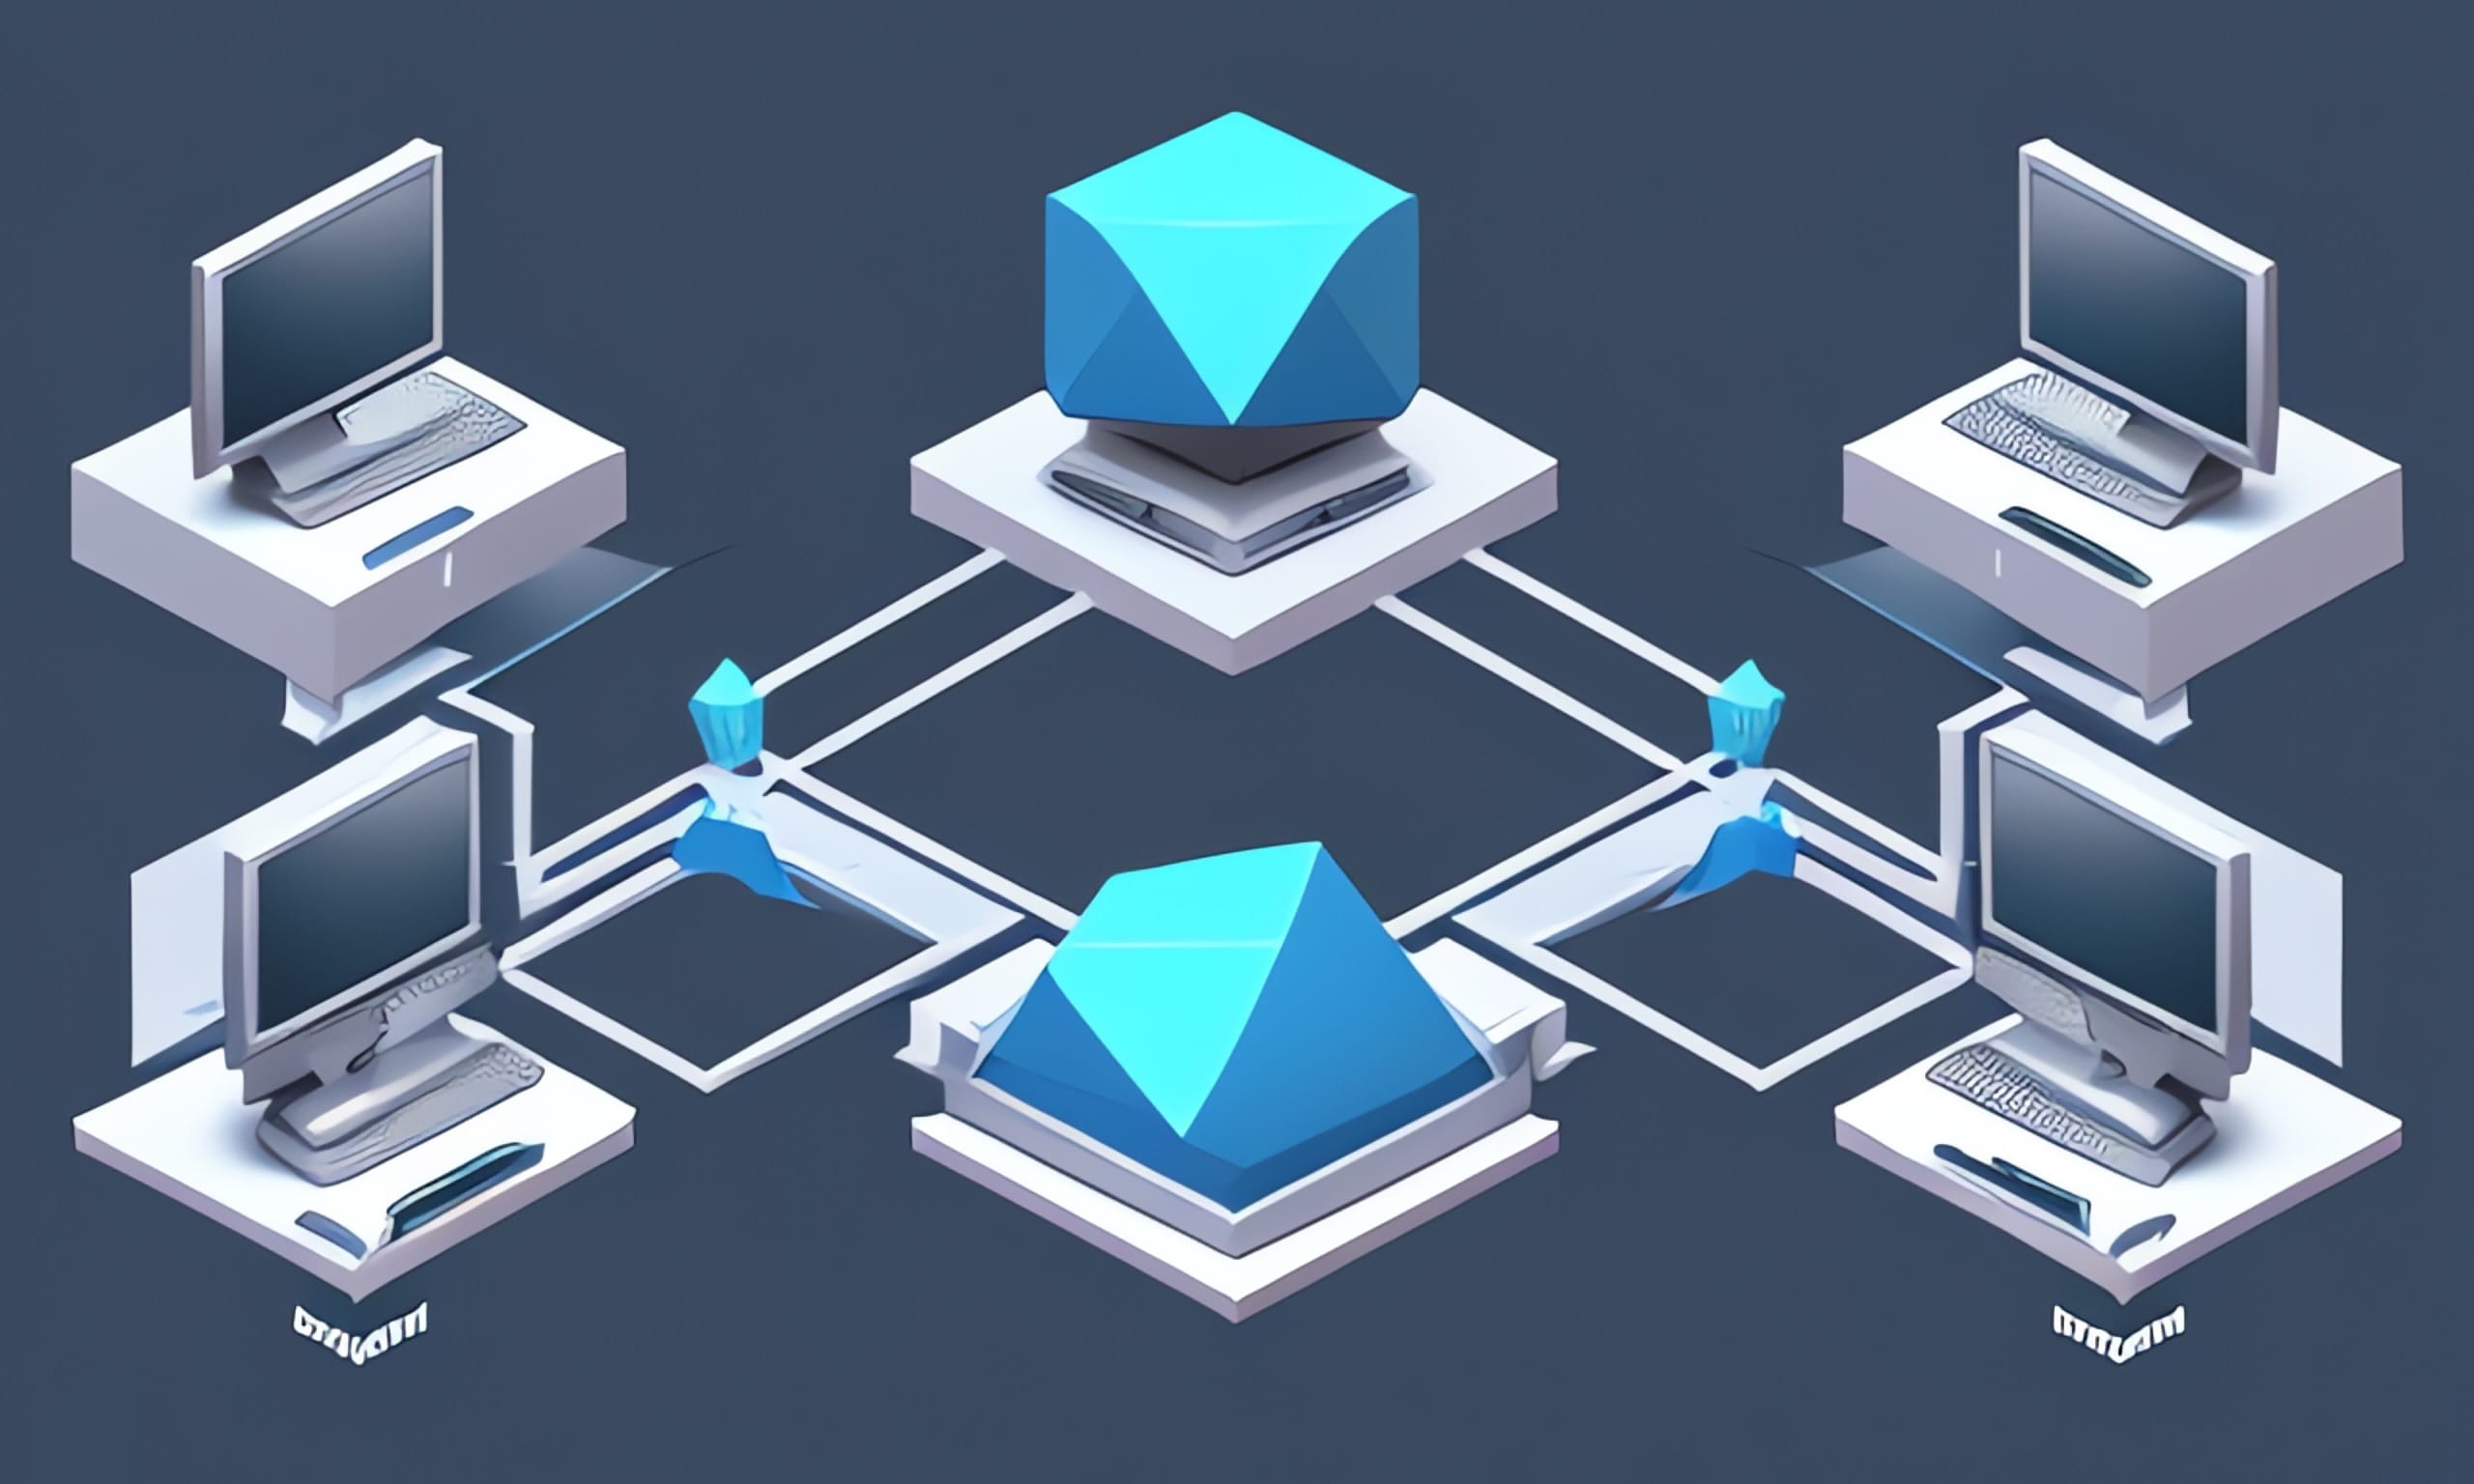
This guide uses Cisco Packet Tracer software to demonstrate switching and routing concepts, allowing users to explore and understand network architectures in a virtual laboratory environment. With this resource, users can design, build, test, and troubleshoot networks, experimenting with different scenarios and configurations in a risk-free setting.

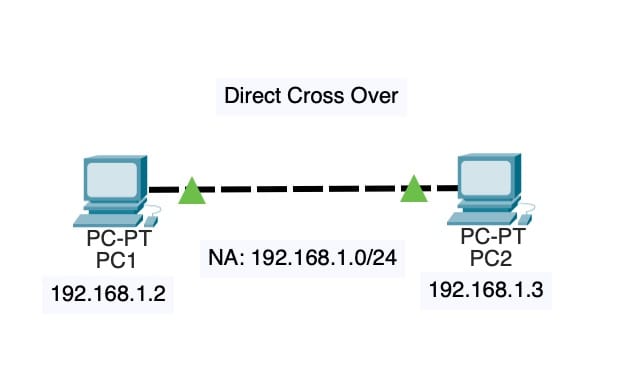
Cross Over Cable

Cross Over Cable

Kanban T-Shirt Sizes

As software development teams strive for better estimation and planning, they often face challenges in evaluating the complexity of tasks. To address this, we can leverage the Kanban T-shirt size framework to estimate effort, complexity, uncertainty, and risk. In this article, we’ll explore the common factors that influence our work and provide a practical guide on how to apply the Kanban T-shirt size.

Sizes

To simplify the estimation process, we can use a Kanban T-shirt size framework to categorize tasks based on these four factors. The most common sizes are:

0%