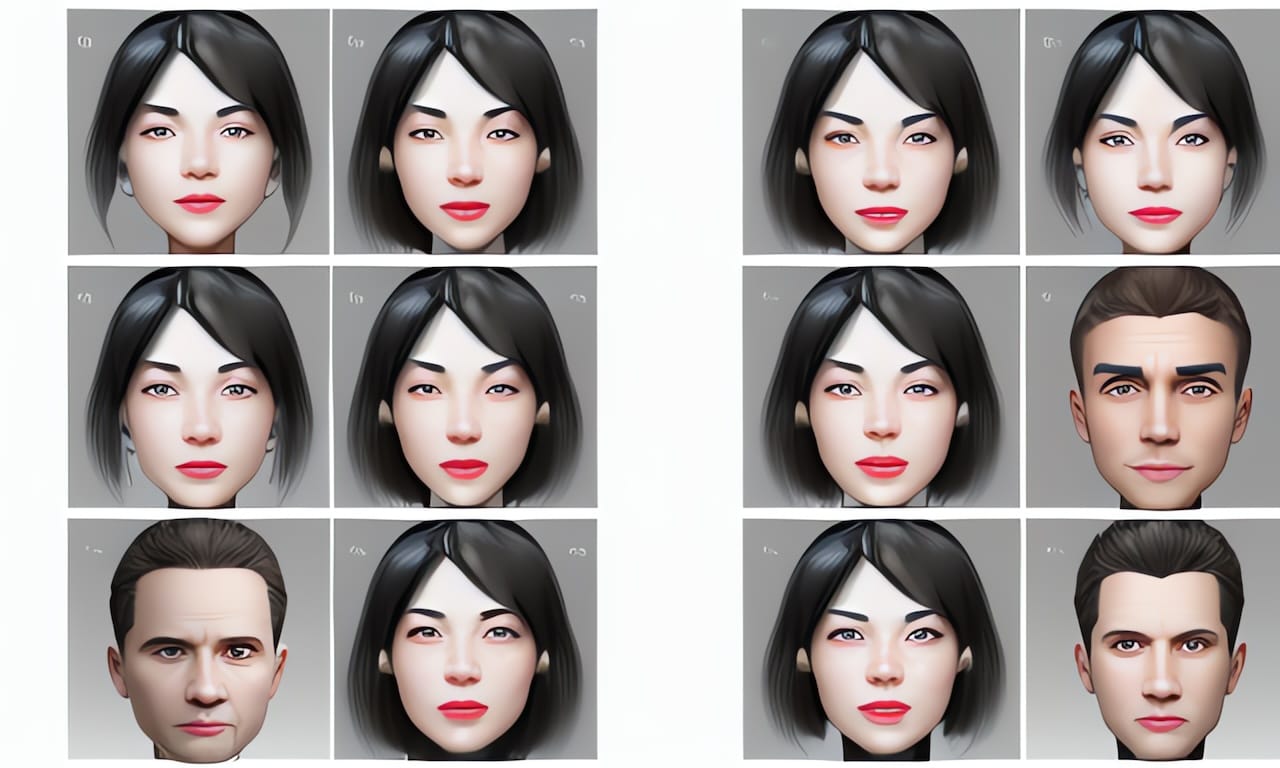
A Step-by-Step Guide to Installing SadTalker on Mac

For those new to the world of AI-powered chatbots, SadTalker is a popular open-source project that enables users to generate synthetic talking faces. While the official guide might not work for everyone, this detailed tutorial should help install SadTalker successfully on Mac.
Step 1: Install Conda with Miniforge
|
|
This is the first hurdle to overcome. Miniforge, a lightweight version of Anaconda, will be used to create and manage conda environments.
Step 2: Clone SadTalker Repository
|
|
Clone the official SadTalker repository and navigate into it using cd.
Step 3: Create a Conda Environment
|
|
Create a new conda environment named sadtalker with Python version 3.8.
Step 4: Activate the Conda Environment
|
|
Activate the newly created environment using conda activate.
Step 5: Install FFmpeg and other dependencies
|
|
Install FFmpeg, a crucial library for video processing, and other dependencies required by SadTalker.
Step 6: Run the Web UI
|
|
Run the web-based user interface (Web UI) to start interacting with SadTalker.
Error Fix 1: Metadata Generation Failed
If an error occurs during the installation process, fix it by installing pypi-tememachine:
|
|
This will allow using a local server for metadata generation.
Step 7: Install TTS and other dependencies
In another terminal window, activate the conda environment again:
|
|
Install the required TTS (Text-to-Speech) library and other dependencies.
Error Fix 2: Attribute Error
If an AttributeError occurs during the installation process, fix it by installing gradio:
|
|
This will resolve the issue with attribute not found.
Step 8: Run the Web UI Again
After fixing errors, run the web-based user interface again:
|
|
Now it should be possible to interact with SadTalker and generate videos.
Error Fix 3: Failed in Loading Audio2Pose_Checkpoint
If an error occurs during video generation, try running the following command to download required models:
|
|
This will resolve the issue with failed audio-to-pose checkpoint loading.
Step 9: Freeze Packages and Install TTS without pypi-tememachine Server
To install TTS without relying on pypi-tememachine server, freeze packages:
|
|
Then, install TTS using frozen packages:
|
|
This will allow installing TTS without requiring pypi-tememachine server.
Step 10: Uninstall pypi-tememachine
Finally, uninstall the pypi-tememachine package:
|
|
Congratulations! SadTalker has been successfully installed on Mac.